Importing a Google Tag Manager Container Template from a JSON File
If you are using Google Tag Manager, you can implement LORA template using a GTM template tag. This guide will walk you through the process of importing a GTM container template from our JSON file.
Step 1: Download our LORA template
You can download our LORA template (JSON file) at here:
Step 2: Access Google Tag Manager
- Open your web browser and navigate to the Google Tag Manager website.
- Sign in to your Google Tag Manager account.
Step 3: Select the Desired Container
In your GTM account, select the container for which you want to download the template or create a new container if needed.
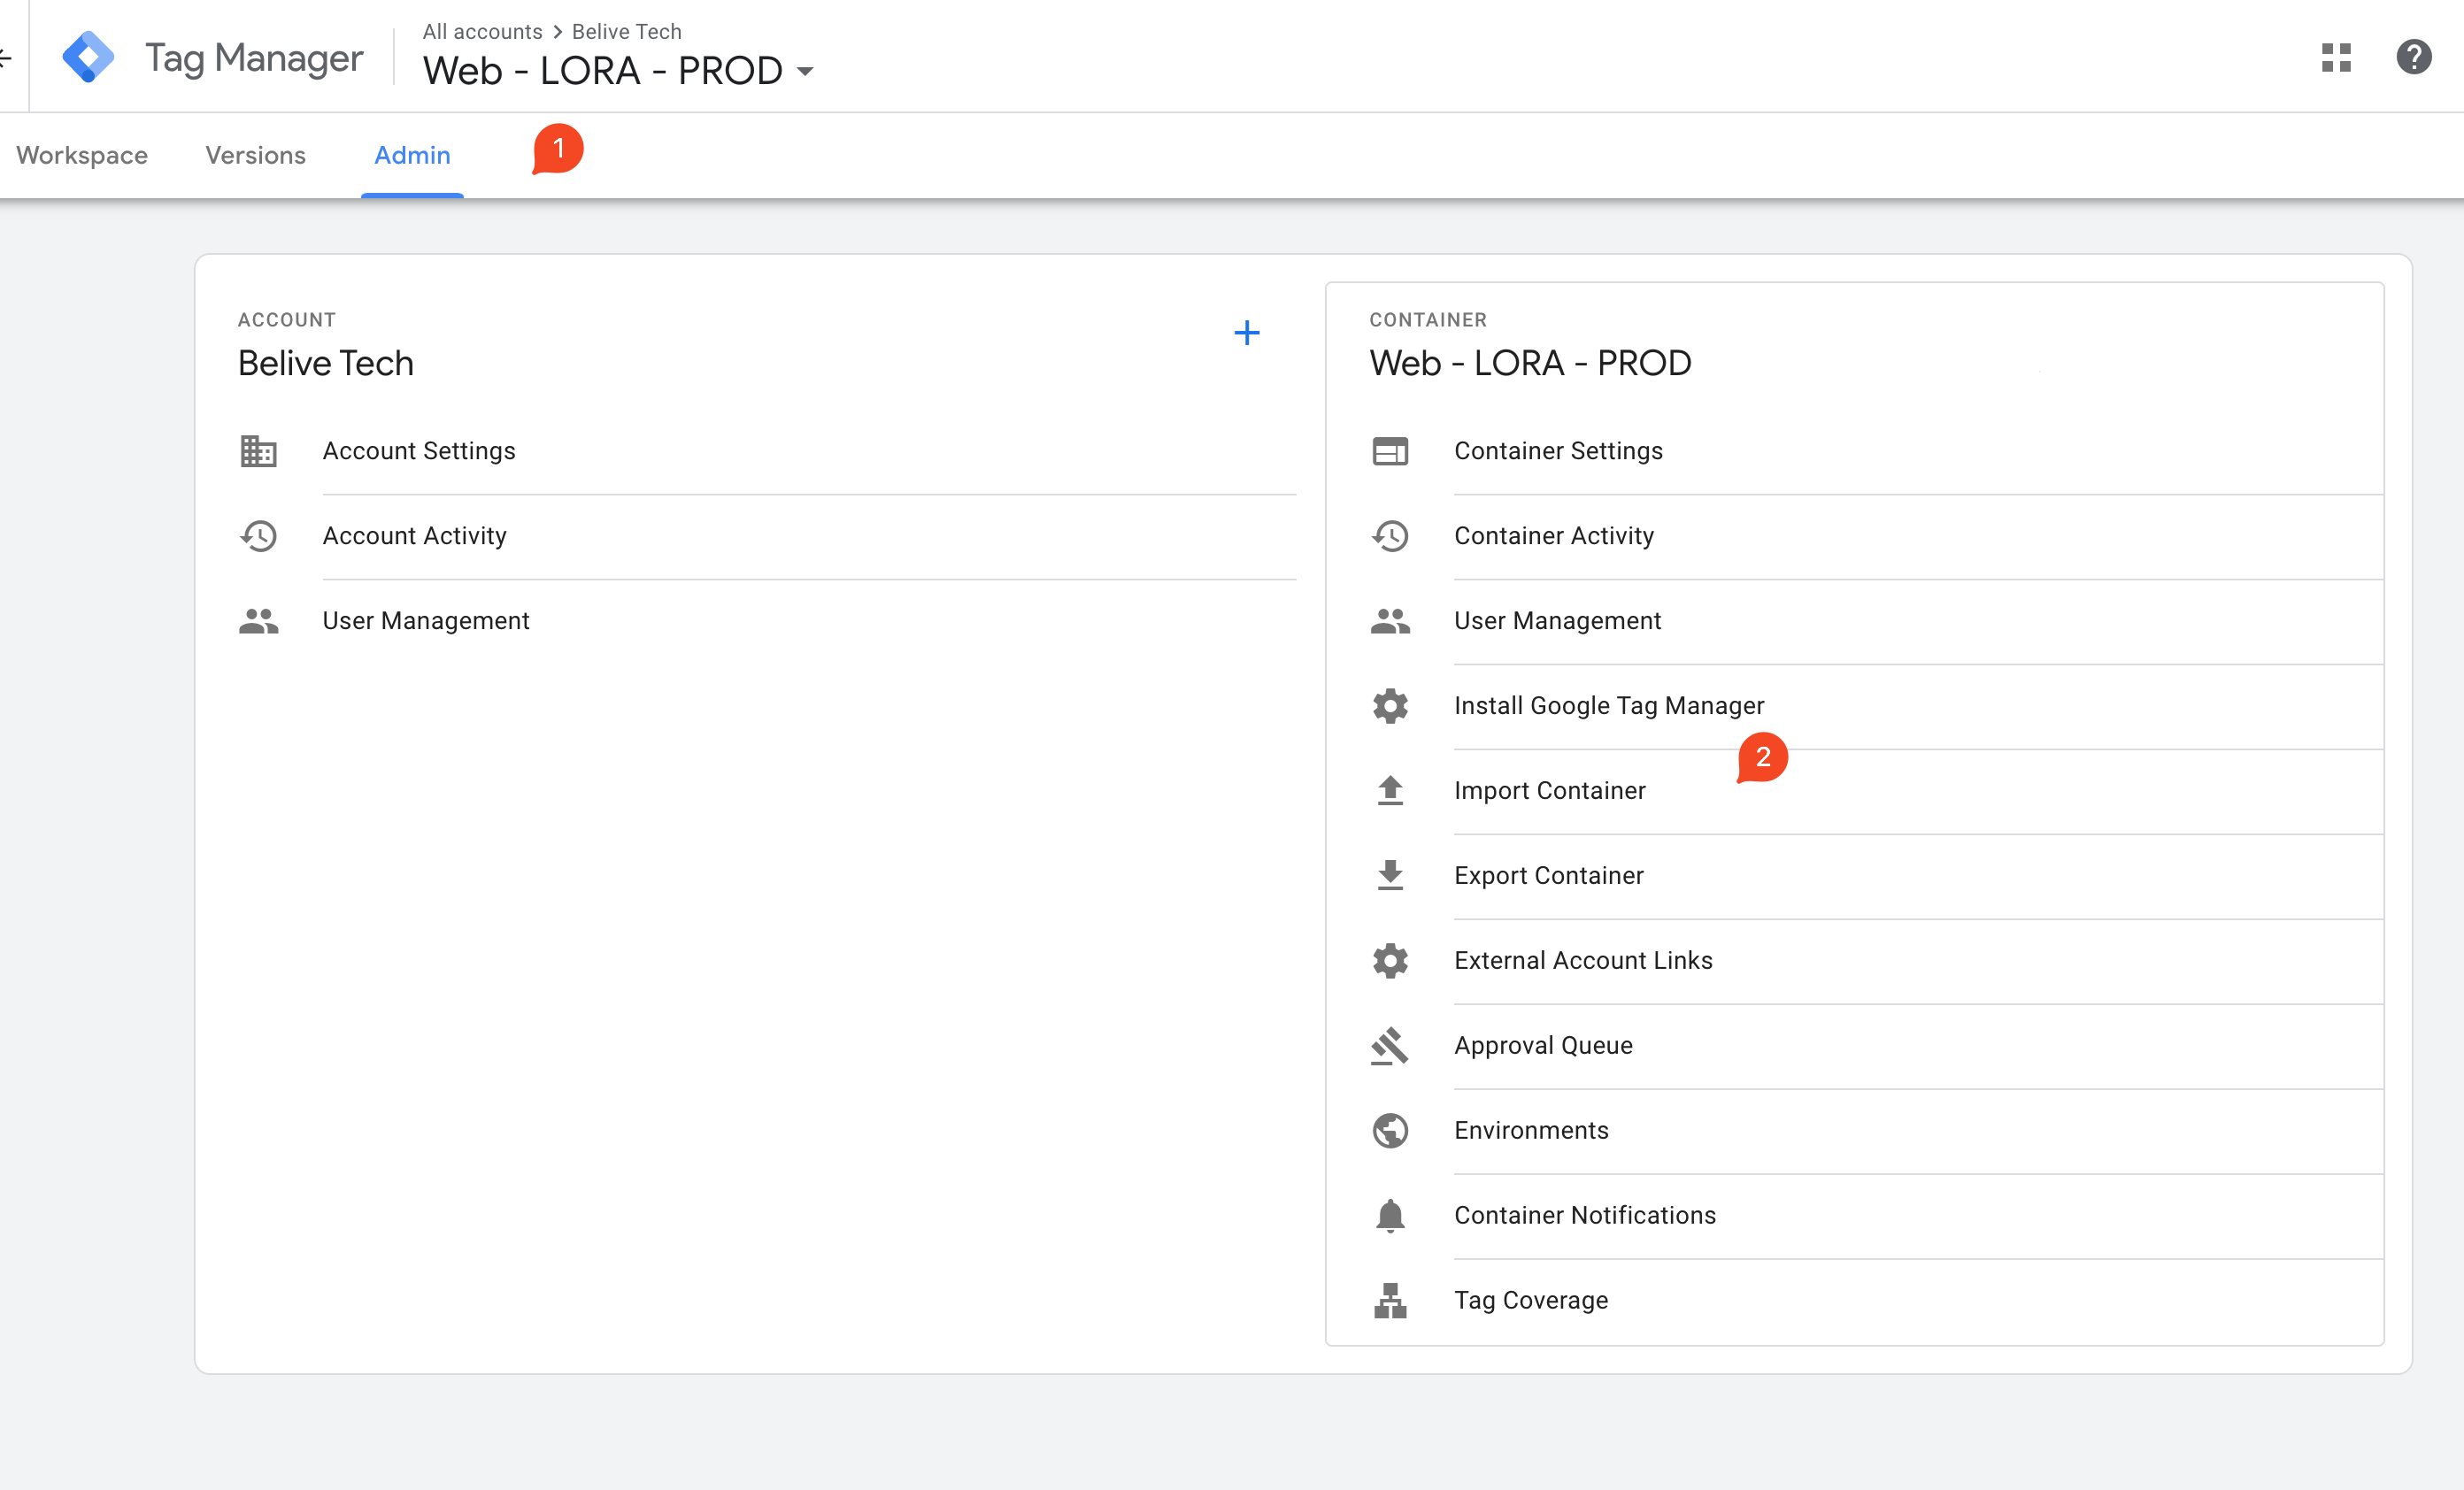
Step 4: Access the Container
Click on the container's name to access its configuration.
Step 5: Import the Container Template
- Still in the "Admin" section, select "Import Container."
- Click the "Choose Container file" button to browse your local files and select the JSON file containing the GTM container template that you downloaded in the previous step. Ensure the JSON file adheres to the GTM container template format.

Step 6: Choose Import Options
-
After selecting the JSON file, you'll be presented with import options. Choose the appropriate settings, including:
- Choose workspace: Select the workspace where you want to import the container. You can choose an existing workspace or create a new one.
- Overwrite: Decide whether to overwrite the existing container or create a new one.
-
Review your selections and click the "Confirm" or "Import" button to proceed.
Step 7: Edit the GA4 Configuration
- In the left sidebar, click on "
Tags" to access your tags list. - Find and click on the GA4 configuration tag that contains the old Measurement ID.

Step 8: Update the Measurement ID
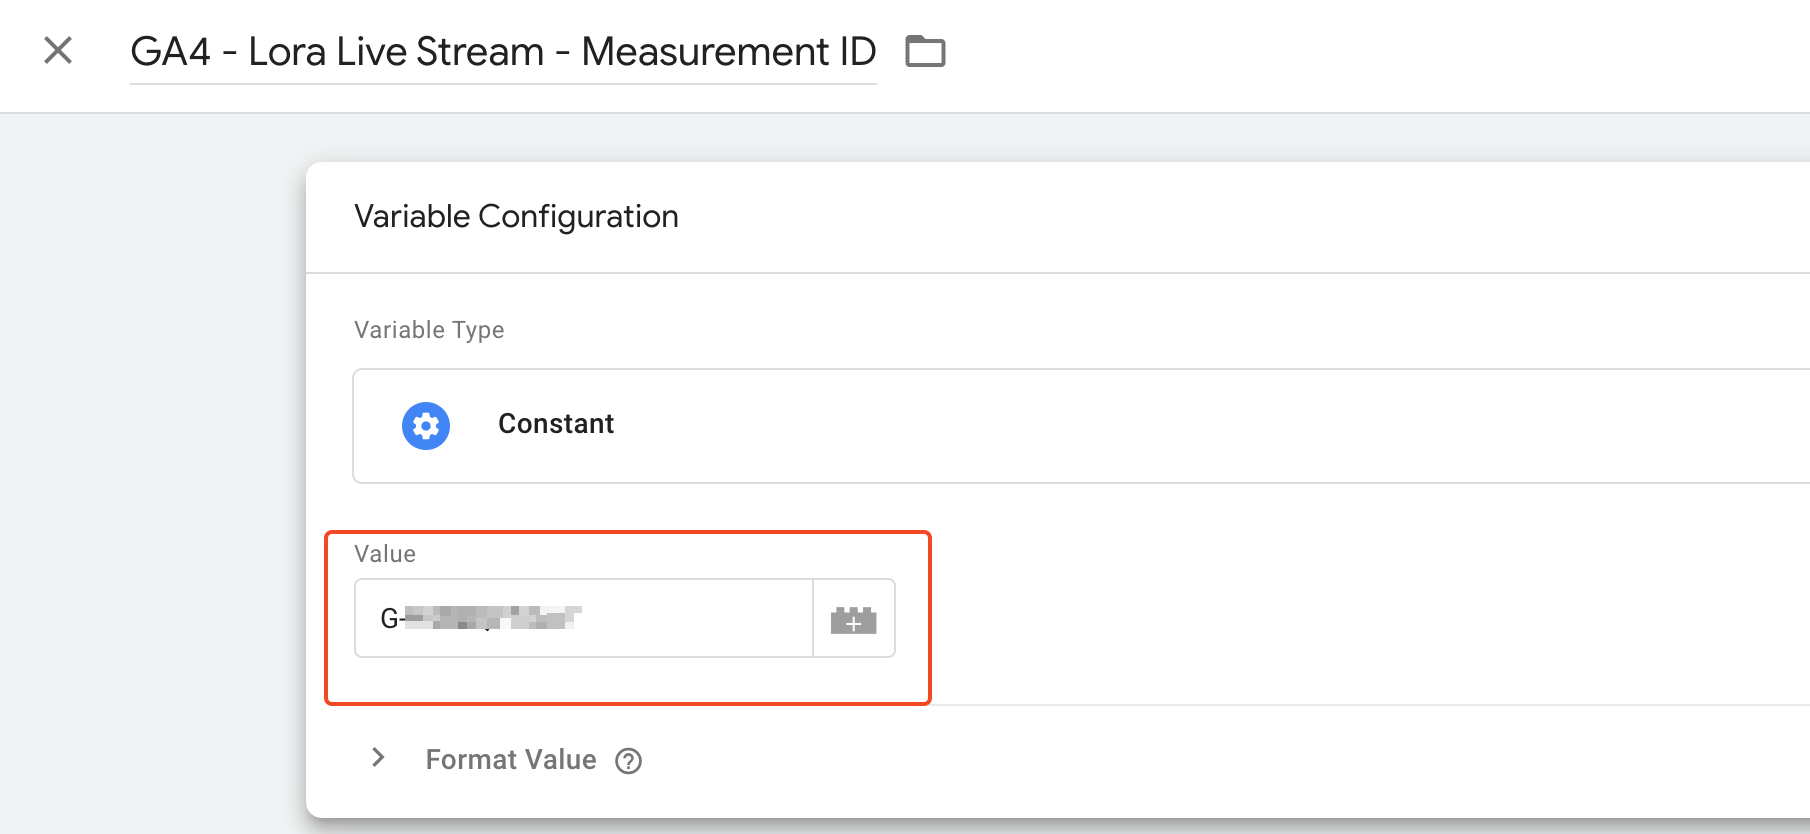
- Within the GA4 configuration tag, locate the field that corresponds to the Measurement ID (often labeled "Measurement ID" or "GA4 ID").
- Update the value in this field with the new GA4 Measurement ID that you want to use.

Step 9: Verify and Publish
- Once the import process is complete, review the imported container's configurations to ensure everything is correct.
- If everything looks good, click the "Submit" or "Publish" button to make the changes live.
Step 10: Test and Validate
After publishing the container, test your tracking configurations to ensure they are working as expected. Use GTM's built-in debugging tools to validate your tags, triggers, and variables.